The Urvanov Syntax Highlighter Plugin has been replaced by the Crayon Syntax Highlighter Plugin, which was done because the current updated version of WordPress did not support me.
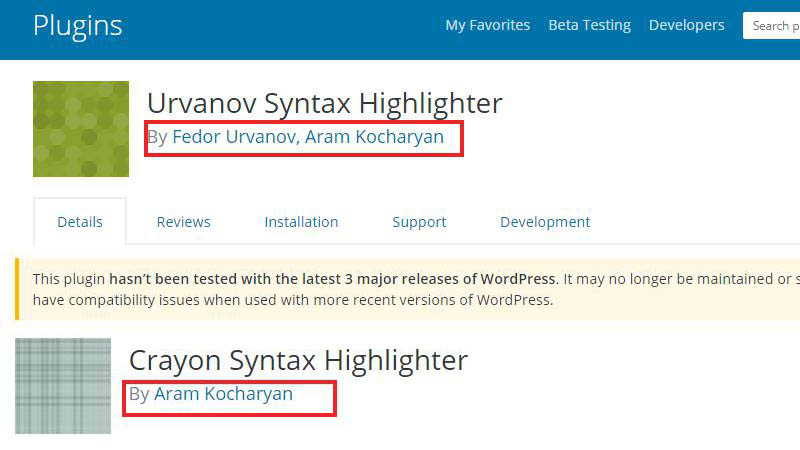
Do you go to an online blog and have seen people posting code inside your blog post? So do you want to know how to post your code in your blog in a secure way, which can be used by copying the logo. The best plugin for posting code on any WordPress blog is the Urvanov Syntax Highlighter plugin.
This plugin is a bit confusing if you look at the plugin settings page. In this post, I am going to give you information about how to use this plugin, so let’s get started.
How To Install The Urvanov Syntax Highlighter Plugin
Now go to your plugins page and click on the Add New button link, then type the following text in the search box below: (Urvanov Syntax Highlighter Plugin)
Now you have to hit the enter key to start searching for the plugin in the WordPress code index. You will then see this plugin in the first box on the left hand side.
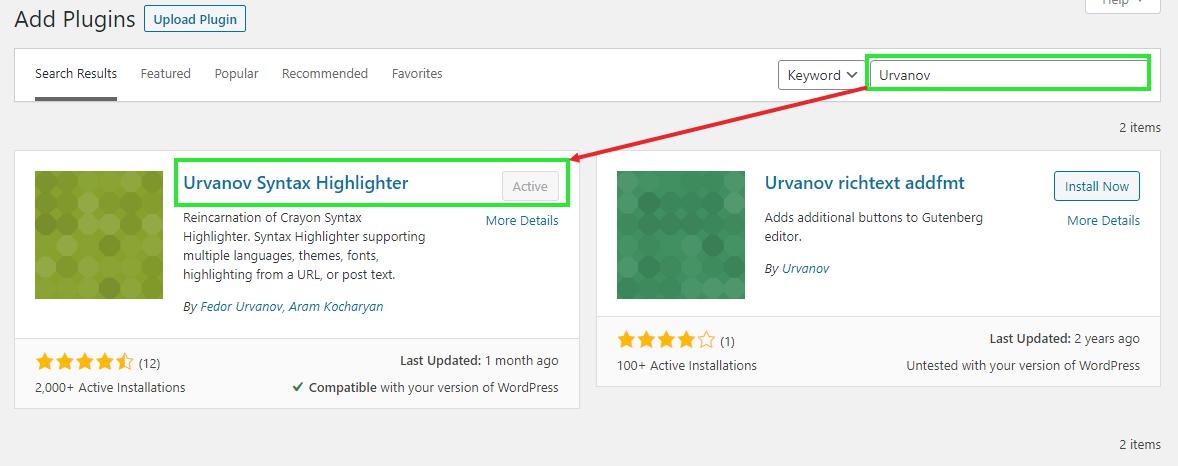
Which I have already installed and activated this plugin, so the install button is hidden. Now you can safely install the plugin and then open a new blog post to post a sample code and see how easy it is.
How to Use Urvanov Syntax Highlighter Plugin
In this plugin you can use many programming languages, such as CSS, HTML, PHP and more. It is designed just for WordPress. When you want to drop some code, there are 2 ways to enable this feature within your blog post / page. Do you know that you have a “text” and “visual” mode when you want to write the content right? Here’s how to use both
Do you know that in WordPress you have “text” and “visual” modes when you want to write a content? Here’s how both versions can be used to post code.
Text Mode
Start off with a blank canvas.
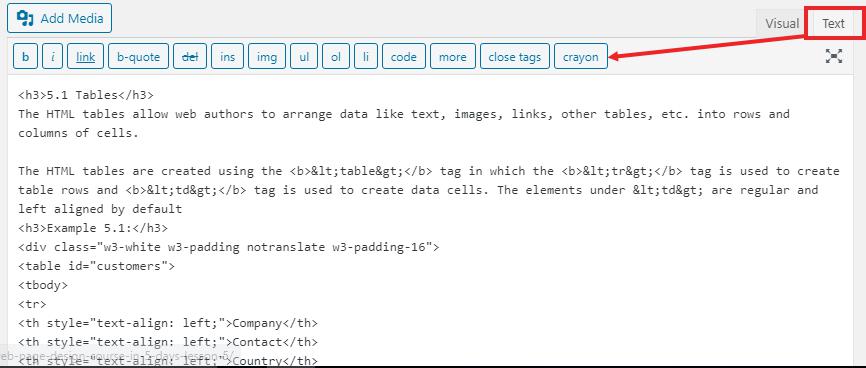
I hope that by seeing this image you will understand what I am doing next step. In the image above, you can see where the “crayon” text button is? “Crayon is visible because Urvonov syntax highlighter plugin is replaced by crayon syntax highlighter plugin” To post a code in a blog post or page, you will click the “crayon” button, then the following box will appear As it will appear shown below.
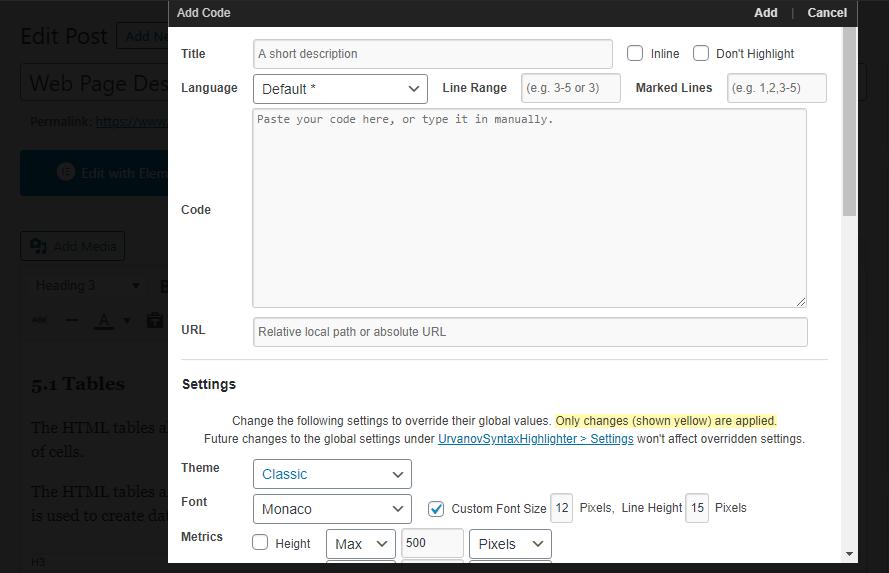
Yes, there are a lot of stuff/features inside that popup but I have used any of them in my couple of month using this plugin. I just click on the “Crayon” link and paste my code. Look at the screenshot below with the code added.
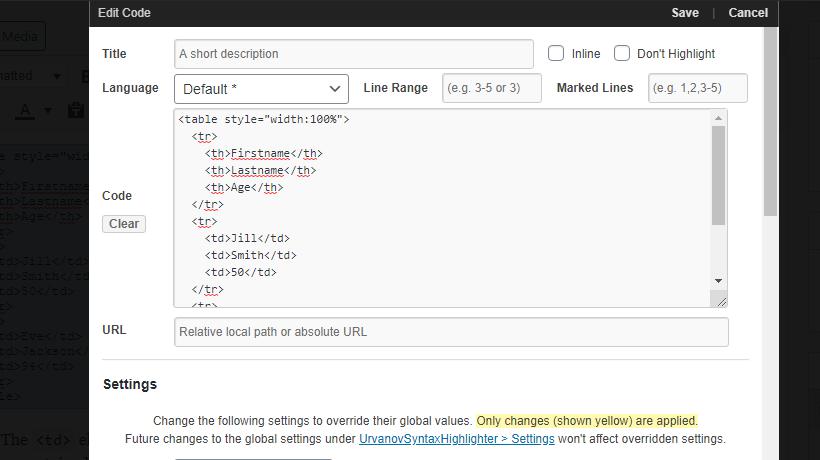
After the code is added, all you have to do is press the Add button to add the code to the blog post. Keep in mind that you can copy the entire code inside the blog post to paste it in the place where you want to place it.

Do you see the ** pre ** tag at the beginning and end of the code? Don’t touch these as this is the actual code that makes your code the same as the sample image. Never write ** pre ** code manually, always use the “crayon” button so that you are adding the code correctly.
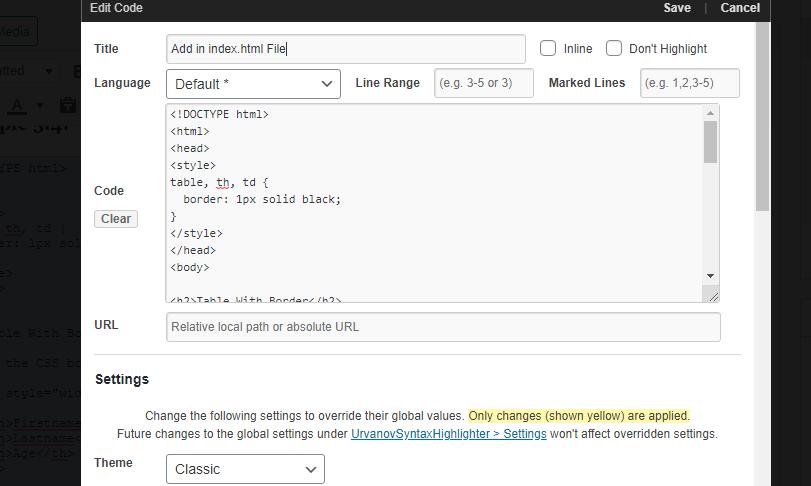
Visual Editor
Another way to post code with this plugin is to use the Visual Editor Editing window if you prefer to write from that page. It is relatively as before with a slight twist.
So let’s start now, I will use the same blog post as this example. Click on the visual button. As I have highlighted the button in the image below.

Let’s start adding another code. Can’t find the “crayon” button? It is now an icon. See the image below.
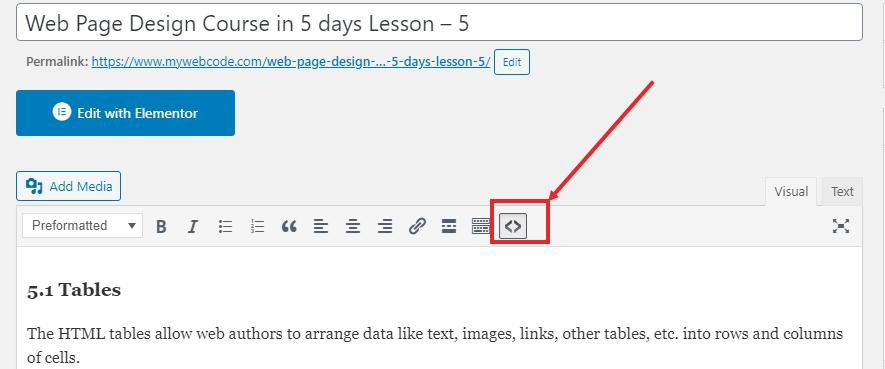
Now that you have clicked on that image, you will see the same popup box link in the “Text Editor” page. As before, just copy your code in the empty box and click “Add”
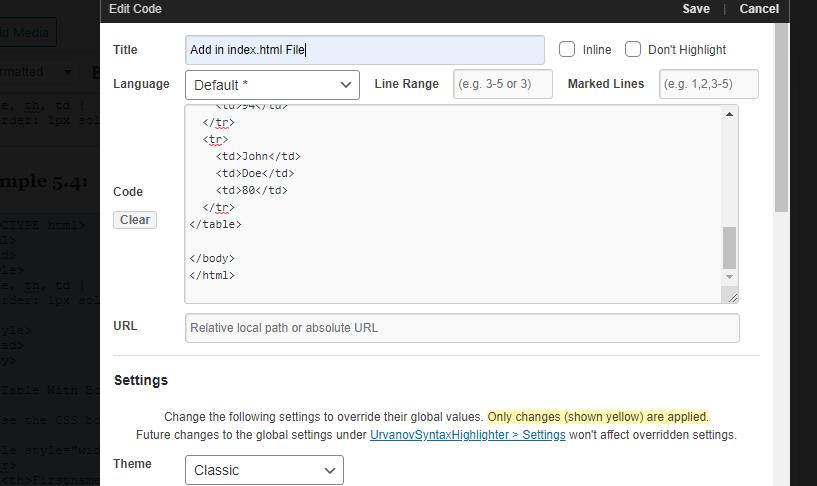
Once you have clicked on the “Add” button, significantly see the code inside the blog post / page like so.
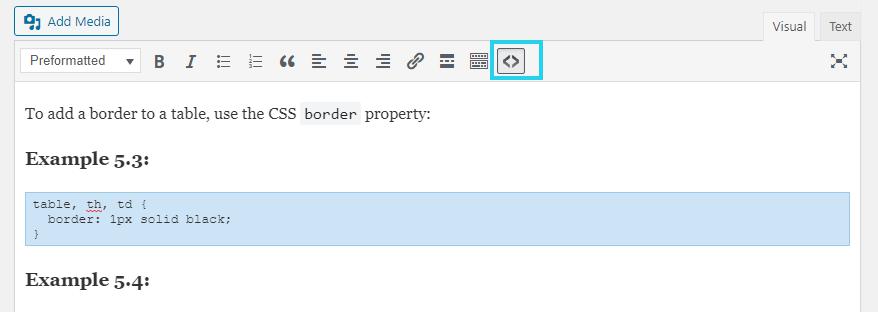
You see how nice the code is displayed? Using the visual editor is a safe way to use this plugin when posting codes in your blog post. You have fewer chances to accidentally delete the **pre** code tags you see in the “Text Editor.” Remember, if you mess up your code when you publish it, your visitors will have issues with their blogs. My suggestion would be to use the “visual editor” version when you want to post codes.
Note:- Crayon syntax highlighter not working problem solved