Deploying a Django 4.0 application on shared hosting can be a bit challenging compared to using dedicated hosting or cloud services. Shared hosting environments often have limitations and restrictions that you need to work around. Here is a general guide to help you deploy a Django 4.0 application on shared hosting:
Check Hosting Requirements:
Ensure that your shared hosting provider supports Python and allows you to run Django applications. Many shared hosts only support certain versions of Python.
Access to SSH Or Terminal:
Check if your shared hosting plan provides SSH access or Terminal. This is crucial for setting up and managing your Django application.
At the time of updating this article, the latest version of Django is Django 4.0.3 and by using the method that I am explaining in this post, it is possible to deploy a Django 4.0.3 project on shared hosting with MySQL database.
I have the Starter of the HostItBro Shared Hosting which I will be using in this post.
I quickly created a Django project for giving this demo. The app has quotes in the database and it just displays them. You can download the project from github. I recommend you to download this project and practice deploying it before you deploy your actual project.
Create a Python App
Log in to CPanel and open Setup Python App.
Click on Create Application
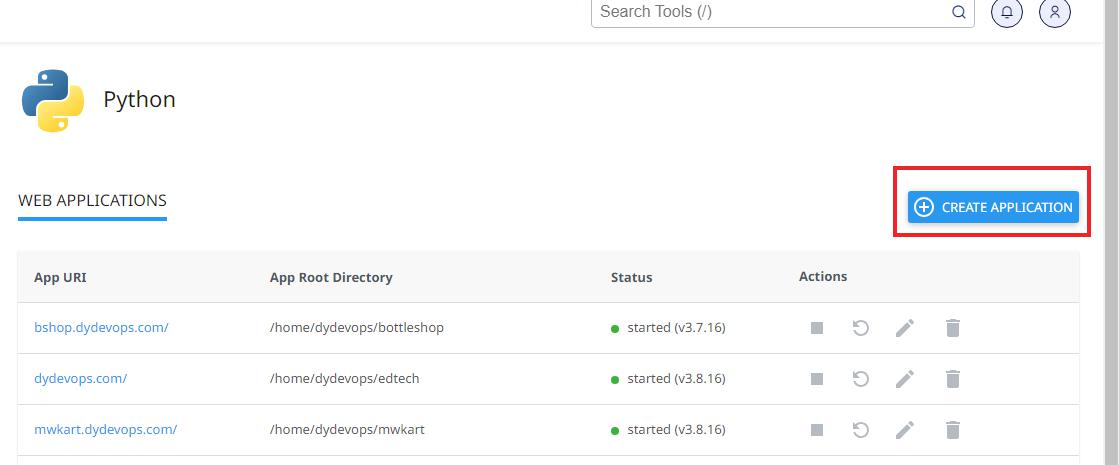
- Select Python Version 3.9.16
- Application Root is the directory where you will place the code files of your Django project. Make sure that it is a different folder than your domain root.
- Application URL is the domain or subdomain where your app will run
- In the Application Startup File, type passenger_wsgi.py
- In the Application Entry Point, type application
After setting all these, click on the Create button.

Setup the Database
Open MySQL Databases in Cpanel
Create a new Database and note the database name. We will need it later.
Create a new MySQL user and note the username and password. We will need it later.
Add the new user to the new Database
Grant all the permissions to the user and select Make Changes
Upload your project
Open the File Manager and go to the Application root you specified in the part 1
Zip your project. Upload it to this folder and extract the zip file. Your project files should be in the same folder as the passenger_wsgi.py file. Make sure that manage.py and passenger_wsgi.py are in the same folder.
Edit the passenger_wsgi.py file.
Delete everything from this file and add the following code:
|
1 |
from dydevops.wsgi import application |
Where base is your project folder. It is the same folder that contains your settings.py file. It will be different if you are not using the test project that I provided. You can locate your wsgi.py file and import application from it.
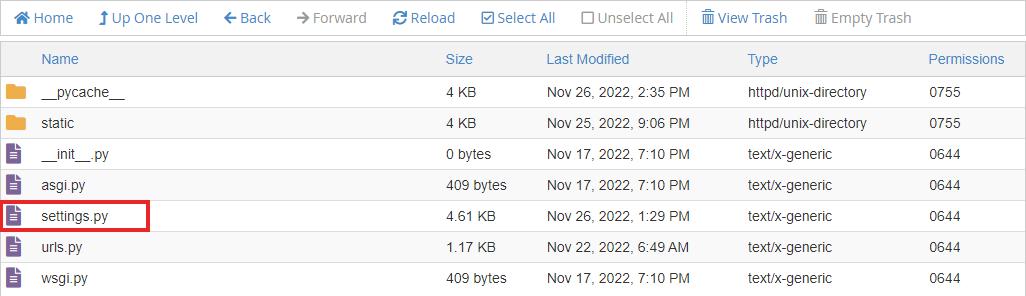
Now edit your settings.py
|
1 |
ALLOWED_HOSTS = ['cms.dydevops.com','www.cms.dydevops.com'] |
In the DATABASES dictionary, modify the default database.
|
1 2 3 4 5 6 7 8 |
'default': { 'ENGINE': 'django.db.backends.mysql', 'NAME': 'databasename', 'USER': 'databaseusername', 'PASSWORD': 'databasepassword', 'HOST': 'localhost', 'PORT': '3306', } |
Make sure to replace databasename with the database name, databaseusername with the database username and databasepassword with the database password.
|
1 2 3 4 5 6 7 8 |
STATIC_URL = 'static/' STATIC_ROOT = os.path.join(BASE_DIR, '/home/dydevops/cms.dydevops.com/static') STATICFILES_DIRS = [ os.path.join(BASE_DIR, 'dydevops/static'), ] # Media settings MEDIA_ROOT = os.path.join(BASE_DIR, '/home/dydevops/cms.dydevops.com/media') MEDIA_URL = '/media/' |
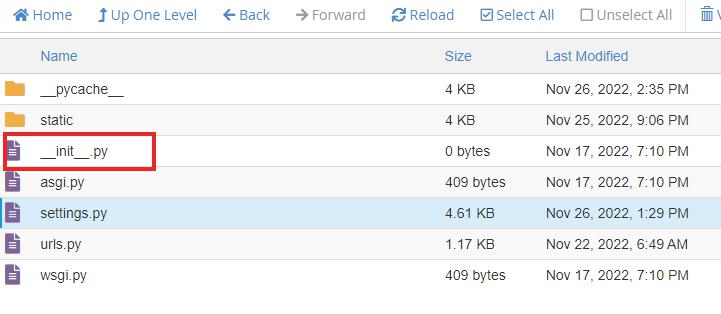
Now edit the __init__.py file
|
1 2 |
import pymysql pymysql.install_as_MySQLdb() |
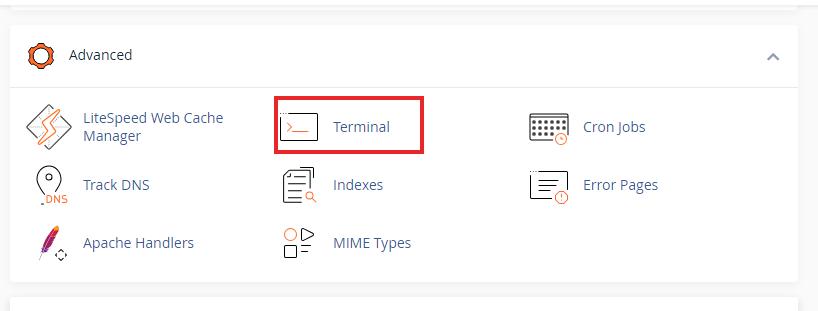
Complete configuration from the Terminal
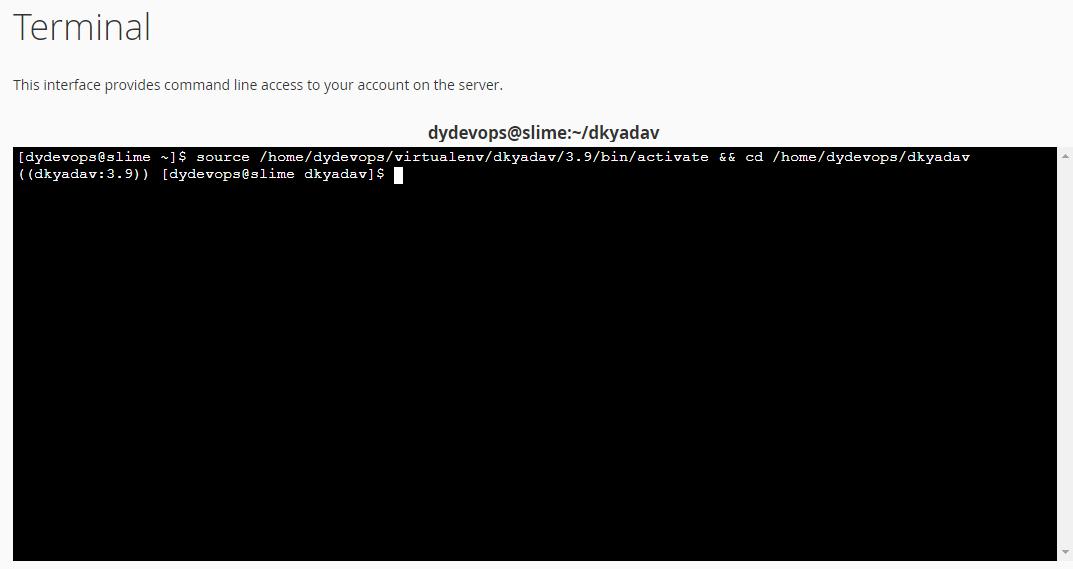
Open the Terminal in your CPanel. If you can not find the terminal, go to Manage Shell and Enable SSH Access. You can also do these steps using SSH but using the terminal is easy.
Copy the command to enter the virtual environment from your python app.
Run the copied command in the terminal and press enter to enter the virtual environment,
Install Django 4.0.3 by running the following command.
|
1 |
pip install django==4.0.3 |
pymysql is required for using the MySQL database. Install it using pip. Here you will install any other modules required by your Django app.
|
1 |
pip install pymysql |
If your migrations are not complete, then make migrations.
|
1 |
python manage.py makemigrations |
Run migrate to create tables in the database.
|
1 |
python manage.py migrate |
Run collectstatic to move the static files to the static root folder specified in settings.
|
1 |
python manage.py collectstatic |
Run createsuperuser to ass a user to the Django admin panel
|
1 |
python manage.py createsuperuser |
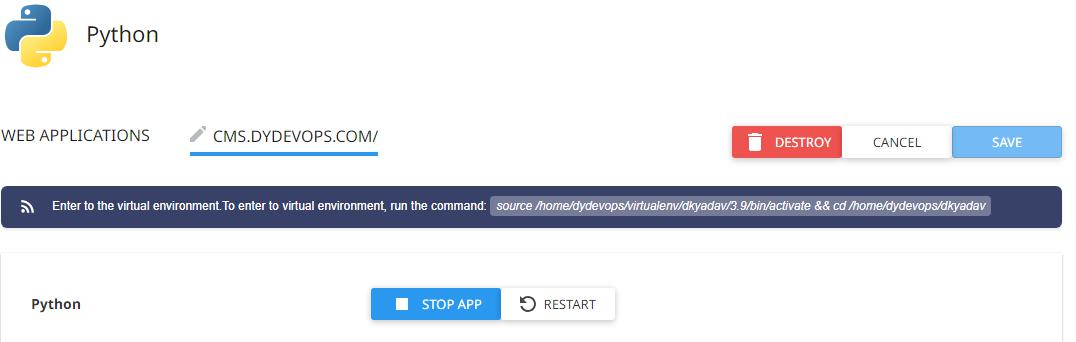
Finally, restart the python app.
Transfer your Database (Optional)
This part of the tutorial will be helpful if you have the app running locally or somewhere else and you want to transfer the data from the database to the one in your shared hosting. Here I will assume that you have the Django app on your computer and you want to transfer the data from the local database to the database on your shared hosting.
Run the following command on your computer to export all the data from the database to a json file.
|
1 |
python manage.py dumpdata>data.json |
Now upload this file to the app folder in your shared hosting.
Open the terminal in the CPanel and enter the virtual environment (steps are mentioned in the previous part of the tutorial).
First, you will clear the database by running the following command:
|
1 |
python manage.py flush |
Then run the following command to load the data from the data.json file into the database.
|
1 |
python manage.py loaddata data.json |
Now if you open the url, you will see that the data has been added to the database.