What is DigitalOcean?
Digitalocean is a server hosting company.(Online Deployment)
They offer virtual private server (VPS) at budget-friendly cost which is good if you are just trying to experiment with setting up your own server, installing applications on the server, running your own website, hosting a small to medium sized web application. As your app/website grow, you can expand your plans which might make it ideal for startups, freelancers or students.
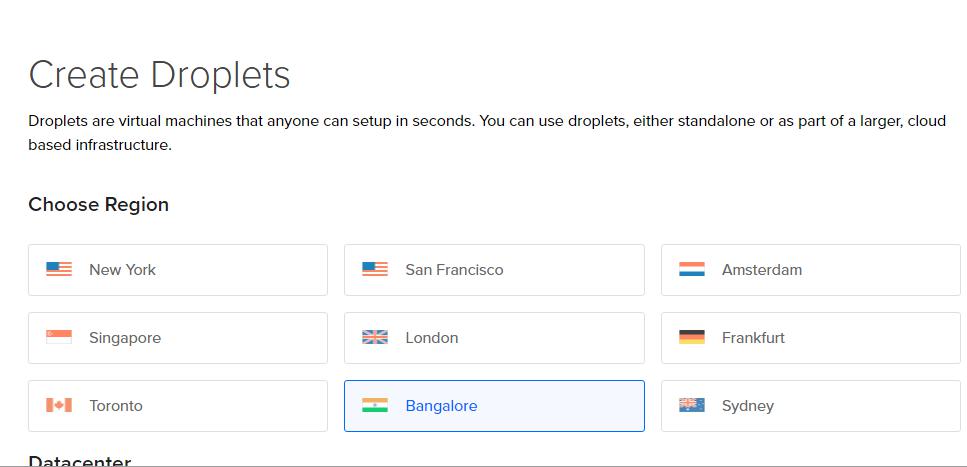
Creating Digitalocean account and setting up server
Once we have the server up and ready, we will get the IP address of this server, and we will login to our server using SSH
|
1 |
ssh root@SERVER_IP_ADDRESS |
Once logged in, let’s update all the packages that are currently installed in our server
|
1 2 |
sudo apt update && apt upgrade -y sudo apt install python3-pip python3-dev ufw nginx |
Create a user on this server and give him a sudo permission. Remaining steps we will be performing as a user, not
as root – for security purposes.
|
1 2 3 |
adduser dydevops adduser dydevops sudo exit |
Now ssh in to the server as dydevops user
|
1 2 3 4 5 |
ssh dydevops@SERVER_IP_ADDRES sudo ufw allow ssh sudo ufw enable sudo apt update sudo pip3 install virtualenv |
Security & Access
Creating SSH keys (Optional)
You can choose to create SSH keys to login if you want. If not, you will get the password sent to your email to login via SSH
To generate a key on your local machine
|
1 |
$ ssh-keygen |
Hint enter all the way through and it will create a public and private key at
|
1 2 |
~/.ssh/id_rsa ~/.ssh/id_rsa.pub |
Add SSH key for new user
Navigate to the new users home folder and create a file at ‘.ssh/authorized_keys’ and paste in the key
|
1 2 3 4 5 |
cd /home/dydevops mkdir .ssh cd .ssh nano authorized_keys Paste the key and hit "ctrl-x", hit "y" to save and "enter" to exit |
Possible Deployment Issues
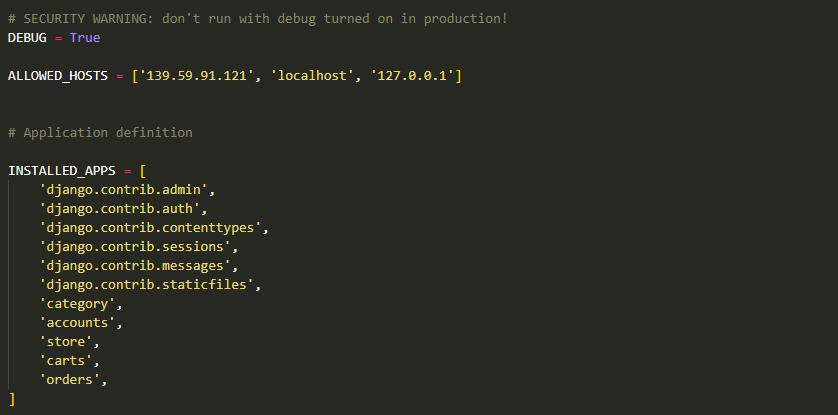
To avoid deployment errors, we will take following actions:
Add allowed host, release media folder, run collectstatic and create requirements.txt from the local project.
|
1 2 3 4 |
ALLOWED_HOSTS = ['SERVER_IP_ADDRESS', 'localhost', '127.0.0.1'] Remove 'media' from .gitignore file python manage.py collectstatic pip freeze > requirements.txt |
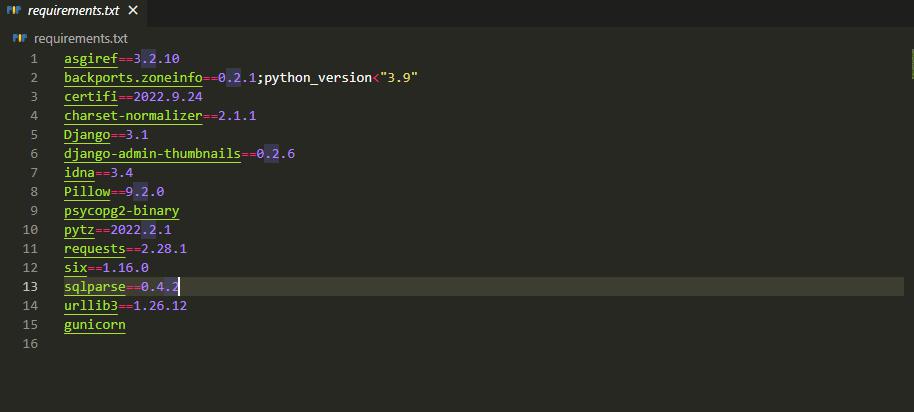
- Replace
psycopg2package withpsycopg2-binary - Install
backports.zoneinfoonly if the server python version is less than 3.9 backports.zoneinfo==0.2.1;python_version<"3.9"- Add
gunicornto requirements.txt
Download FileZilla Server for Windows (64bit x86)
Django file upload with FTP backend
Project contains source code that was made originally for the Django file upload example at StackOverflow.
The goal with minimal-django-file-upload-example is to demonstrate and teach how file uploading is done with Django. Because of the academic nature of the project all the extra functionality is left out. Otherwise you would have hard time to guess what is important and what is not.
Backup data from local machine and restore in to live database
Local machine
|
1 |
python manage.py dumpdata > backup.json |
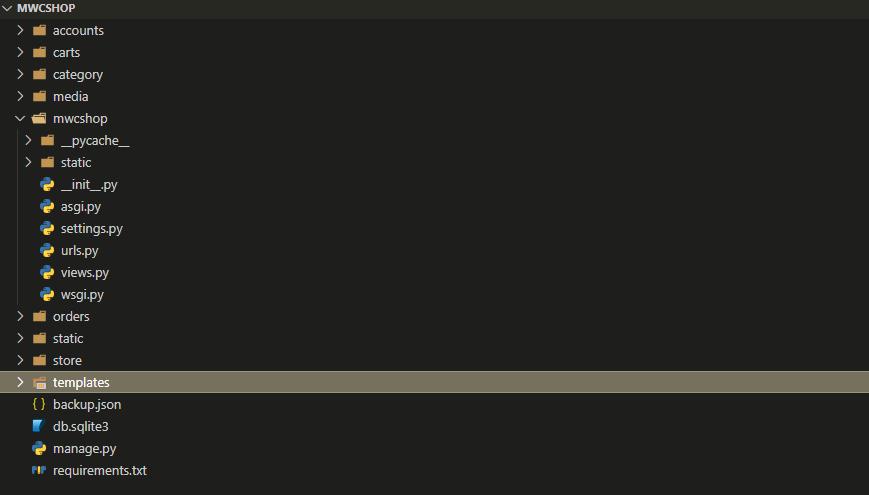
While you are logged in to the server via SSH, create a project directory as myproject inside /home/dydevops/ folder
|
1 2 3 |
cd /home/dydeops/ mkdir myproject cd myproject |
Now check the remote directory, our project is pushed to the server. That’s all, we have set up Filezilla to upload the code from local machine to ftp server.
Install & Configure PostgreSQL
Install
While you are logged into the server, run following commands to install, start, enable and see the status of postgresql database:
|
1 2 3 4 |
sudo apt-get install postgresql postgresql-contrib sudo systemctl start postgresql.service sudo systemctl enable postgresql.service sudo systemctl status postgresql.service |
Postgres Database & User Setup
|
1 |
sudo -u postgres psql |
You should now be logged into the pg shell
Create a database
|
1 |
CREATE DATABASE dydevops_db; |
Create user
|
1 |
CREATE USER dbmwshop WITH PASSWORD 'MaWbc1$23!'; |
Set default encoding, tansaction isolation scheme (Recommended from Django)
|
1 2 3 |
ALTER ROLE dbmwshop SET client_encoding TO 'utf8'; ALTER ROLE dbmwshop SET default_transaction_isolation TO 'read committed'; ALTER ROLE dbmwshop SET timezone TO 'UTC'; |
Give User access to database
|
1 |
GRANT ALL PRIVILEGES ON DATABASE dydevops_db TO dbmwshop; |
Quit out of Postgres
|
1 |
\q |
Open Django Project settings.py
cd /home/dydevops/myproject
|
1 2 |
cd myproject sudo nano mwcshop/settings.py |
Setup Virtual Environment run the server
In the myproject folder, create virtual environment and activate it
|
1 2 |
virtualenv env source env/bin/activate |
Install the packages from requirements.txt file
|
1 |
pip install -r requirements.txt |
Run makemigrations and migrate commands
|
1 |
python manage.py migrate |
Allow port 8000
|
1 |
sudo ufw allow 8000 |
Check status of ufw
|
1 |
sudo ufw status |
Run the server
|
1 |
python manage.py runserver 0.0.0.0:8000 |
Remote server
python manage.py shell
|
1 2 3 4 |
from django.contrib.contenttypes.models import ContentType ContentType.objects.all().delete() quit() python manage.py loaddata backup.json |
Configuring Gunicorn
Install Gunicorn on our server
|
1 |
sudo apt install gunicorn |
Tell gunicorn to bind to our Django application and start running
|
1 |
gunicorn --bind 0.0.0.0:8000 mwcshop.wsgi |
Test the link and make sure the site is working
exit
Go to this location and paste below code:
|
1 |
sudo nano /etc/systemd/system/gunicorn.socket |
|
1 2 3 4 5 6 |
[Unit] Description=gunicorn socket [Socket] ListenStream=/run/gunicorn.sock [Install] WantedBy=sockets.target |
Location:
|
1 |
sudo nano /etc/systemd/system/gunicorn.service |
|
1 2 3 4 5 6 7 8 9 10 11 12 13 14 15 16 17 |
[Unit] Description=gunicorn daemon Requires=gunicorn.socket After=network.target [Service] User=dydevops Group=www-data WorkingDirectory=/home/dydevops/myproject ExecStart=/home/dydevops/myproject/env/bin/gunicorn \ --access-logfile - \ --workers 3 \ --bind unix:/run/gunicorn.sock \ mwcshop.wsgi:application [Install] WantedBy=multi-user.target |
Restart and enable Gunicorn socket
|
1 2 |
sudo systemctl start gunicorn.socket sudo systemctl enable gunicorn.socket |
Configuring Nginx as a reverse proxy
Location:
|
1 |
sudo nano /etc/nginx/sites-available/dydevops |
|
1 2 3 4 5 6 7 8 9 10 11 12 13 14 15 16 17 18 19 20 |
server { listen 80; server_name dydevops.com www.dydevops.com; location ~ ^/.well-known { root /home/dydevops/myproject; allow all; } location = /favicon.ico { access_log off; log_not_found off; } location /static/ { root /home/dydevops/myproject; } location /media/ { root /home/dydevops/myproject; } location / { include proxy_params; proxy_pass http://unix:/run/gunicorn.sock; } } |
|
1 2 |
sudo ln -s /etc/nginx/sites-available/dydevops /etc/nginx/sites-enabled/ sudo systemctl restart nginx |
Open port 80 and close 8000
|
1 2 3 4 |
sudo ufw allow 80 sudo ufw allow 'Nginx Full' sudo ufw allow 586 sudo ufw deny 8000 |
Go to sites-enabled directory and delete the default site
|
1 2 3 |
cd /etc/nginx/sites-enabled/ ls sudo rm default |
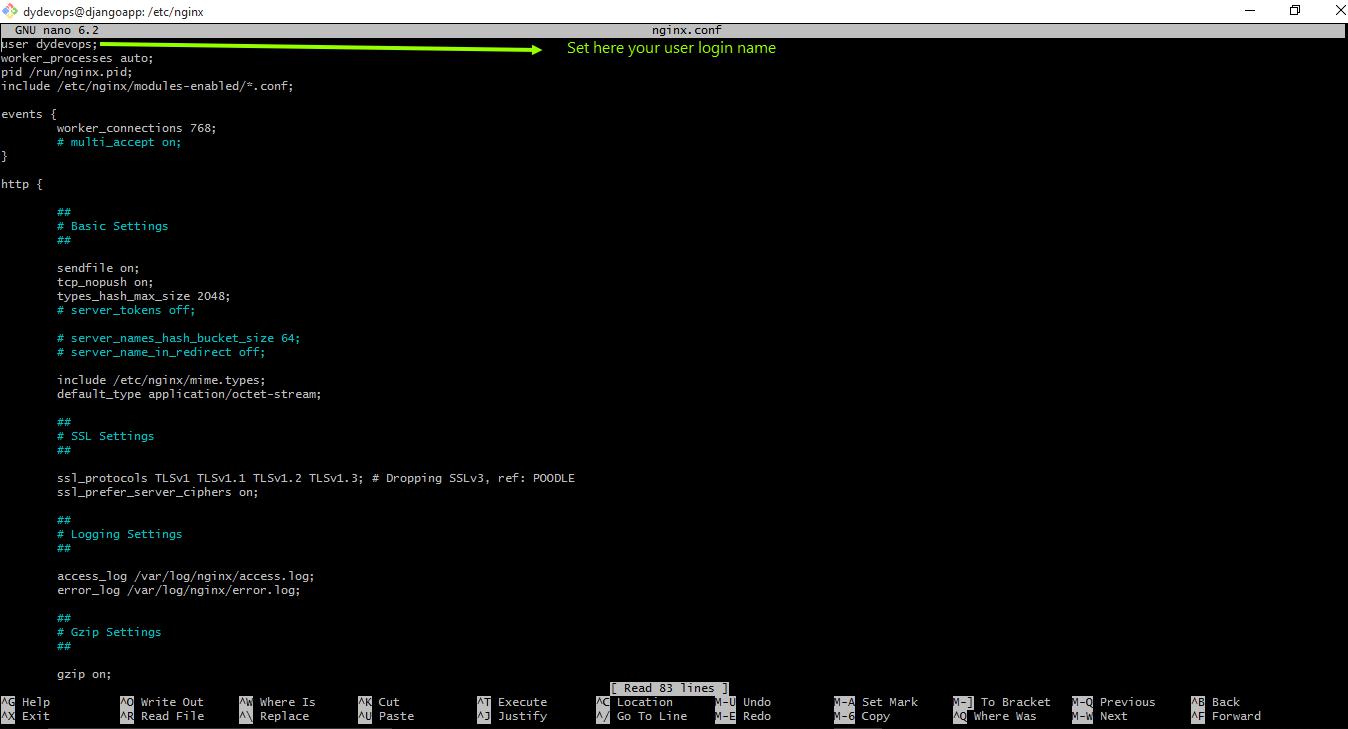
Fix Static Files on Server
|
1 2 3 |
cd /etc/nginx/ ls sudo nano nginx.conf |
|
1 |
sudo systemctl restart nginx |
|
1 2 |
cd myproject sudo nano mwcshop/settings.py |
|
1 |
ALLOWED_HOSTS = ['SERVER_IP_ADDRESS', 'www.dydevops.com', 'dydevops.com'] |
|
1 2 |
sudo service nginx restart sudo service gunicorn restart |